
Using hardware for teaching kids how to code is a great tool. As we know, teaching children how to code is becoming increasingly popular as parents and educators recognize the importance of computer science skills in today’s digital age. Although coding can be taught using software programs and online platforms, incorporating hardware into coding lessons can take the learning experience to a whole new level.
Hardware refers to the physical devices and components that can be used in coding activities. By combining hardware with coding, children can get hands-on experience and a deeper understanding of how technology works. Not only does this make coding more enjoyable, engaging and interactive for children, but it also helps them apply their coding knowledge in real-world scenarios and develop essential skills for their future.
Using hardware for teaching coding introduces kids to the concept of physical computing, where they can control and interact with the physical world through code. It allows them to build projects, solve problems, and unleash their creativity in a tangible way. Whether it’s programming robots, building circuits, or creating interactive projects, hardware adds a new dimension to coding education.
The benefits of using hardware for teaching coding to kids are numerous. Firstly, it promotes critical thinking and problem-solving skills as students face real-world challenges requiring logical thinking and troubleshooting. Secondly, it fosters creativity by encouraging students to design and build their own projects, giving them a sense of ownership and accomplishment. Additionally, using hardware in coding lessons enhances collaboration and teamwork as students can work together to solve problems and share their creations.
What are the different types of hardware available for teaching coding to kids?
There are various types of hardware that can be used for teaching coding to kids.

- Arduino boards, for example, are popular among educators due to their versatility and ease of use. They allow students to program and control electronic components such as sensors, motors, and lights, enabling them to create interactive projects.
- Raspberry Pi, on the other hand, is a small single-board computer that offers more advanced capabilities. It can be used for a wide range of coding projects, from building smart home systems to developing games and websites.
- Micro:bit is another popular hardware platform designed specifically for beginners. It offers a simple and intuitive way for kids to learn coding by programming the device to perform various tasks and interact with the environment.
- Lego Mindstorms and Spike combines the world of coding with the beloved Lego building blocks. It allows students to build and program their own robotic creations, enhancing their engineering and problem-solving skills.
- Different educational robots offer an interactive and fun way for kids to learn coding. These programmable robots can be controlled using a smartphone or tablet, allowing students to experiment with coding concepts and algorithms. To name a few popular robots: Sphero, VEX, KOBO, mBot, Bee-Bot, Ozobot…
- Makey Makey, on the other hand, takes a more creative approach to coding. It allows students to turn everyday objects into interactive touchpads, transforming anything from bananas to play dough into input devices.
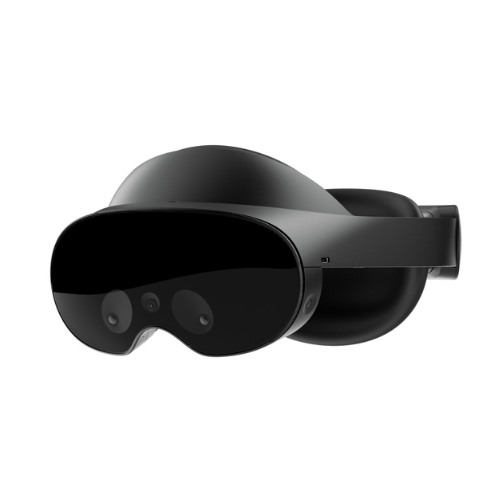
- Virtual reality (VR) and augmented reality (AR) have also made their way into the realm of coding education. These immersive technologies provide students with a unique coding experience where they can create virtual worlds, develop AR applications, and explore the limitless possibilities of coding in a simulated environment. To name a few popular VR headsets: Meta Oculus Quest, Microsoft Hololens, Google Cardboard, Apple Vision Pro AR…
- 3D printers, engravers, and other machines have revolutionized the way we approach coding education for kids. These tools provide hands-on experiences and allow children to bring their coding projects to life in a tangible and visually appealing way.
When choosing the right hardware for teaching kids to code, it’s important to consider factors such as affordability, ease of use, educational resources available, and compatibility with coding languages and platforms. Additionally, considering the age and skill level of the students is crucial to ensure that the hardware is suitable for their abilities and learning objectives.
Benefits of using hardware for teaching coding to kids
In today’s digital age, introducing kids to coding at an early age has become increasingly important. Not only does it help develop essential problem-solving and critical thinking skills, but it also nurtures creativity and fosters innovation. While there are numerous ways to teach coding to kids, integrating hardware into coding lessons can prove to be highly beneficial. Let’s explore some of the advantages of using hardware for teaching kids to code.
Hands-On Learning Experience
One of the major benefits of incorporating hardware into coding education is that it offers a hands-on learning experience. Unlike traditional coding programs that rely solely on screens and keyboards, hardware allows kids to physically interact with their code. Whether it’s wiring circuits, building robots, or programming physical devices, this tactile experience enhances understanding and engagement.
Practical Application of Coding Concepts
By using hardware, kids can immediately see the tangible results of their code in action. Whether they are controlling a robot’s movement, designing an electronic circuit, or building a controller for a game, hardware allows students to apply their coding knowledge to real-world problems. This practical application reinforces their understanding of programming concepts and motivates them to dive deeper into the subject.
Enhancing Problem-Solving Skills
When working with hardware, students often encounter challenges and design constraints that need to be overcome. This cultivates problem-solving skills as they learn to troubleshoot, debug, and iterate on their designs. Such experiences instill resilience and perseverance, essential qualities in the pursuit of coding proficiency.
Collaboration and Teamwork
Hardware integration encourages collaboration and teamwork among students. Working on projects that involve hardware requires communication, division of tasks, and coordination to bring the different components together successfully. These collaborative efforts foster teamwork and strengthen social skills, preparing kids for future collaborative endeavors.
Bridging the Gap between the Physical and Digital Worlds
Incorporating hardware into coding lessons enables kids to bridge the gap between the physical and digital worlds. They can connect sensors, motors, and other physical components to their code, allowing them to create interactive experiences and explore the Internet of Things (IoT) concepts. By using hardware, kids gain a deeper understanding of how software can interact with the physical world, empowering them to become inventors and innovators.
Familiarity with IoT is pivotal in understanding and leveraging the concept of smart homes
In the era where technology and connectivity intertwine with every aspect of our lives, introducing kids to the IoT not only enhances their coding skills but also aligns their capabilities with the evolving digital world, particularly in the realm of smart homes. Understanding IoT is crucial in demystifying how everyday objects, embedded with sensors and connectivity, communicate with each other to simplify and automate tasks in residential settings. They learn how coded instructions and algorithms can command a device, such as adjusting a thermostat, locking a door, or controlling lights, offering them a holistic view of how software controls hardware in a networked environment. Moreover, this learning pathway establishes a robust foundation for them to conceptualize and perhaps, eventually materialize, innovative solutions that cater to sustainable living and energy efficiency in smart homes of the future.”
Different types of hardware for teaching coding
When it comes to teaching coding to kids, there are various types of hardware available that can enhance their learning experience. These hardware tools provide a hands-on approach to understanding coding concepts and allow students to apply their knowledge in a practical manner. Each of them has its own unique features and capabilities, catering to different age groups and skill levels. Here are some different types of hardware that are commonly used for teaching coding:
Bee-Bot
Bee-Bot is a simple, floor robot designed for early childhood and primary education. It is often the first robot that students encounter. Its primary purpose is to introduce young children to basic programming concepts and computational thinking in a fun and interactive way. It is a colorful, easy-to-operate, and friendly little robot that is perfect for teaching counting, sequencing, directionality, problem-solving, estimation, and just having fun!
Bee-Bot has a simple and intuitive interface with four arrow buttons that children can use to program it to move forward, backward, left, and right. It can store up to 200 steps in its memory, so children can create complex programs for it to follow. Bee-Bot is a versatile teaching tool that can be used in a variety of ways. It can already be presented in the kindergarten.

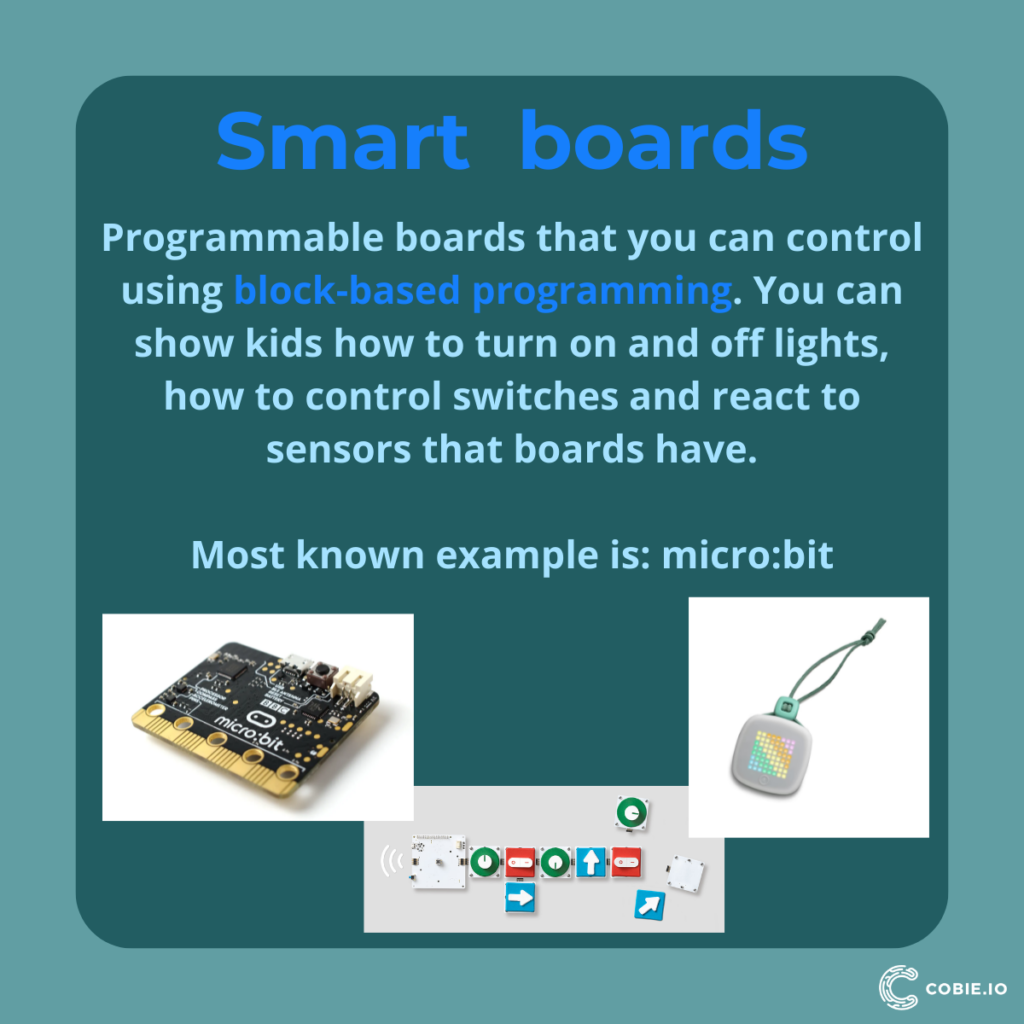
Micro:bit
The Micro:bit is a remarkable tool for teaching coding concepts to kids, offering a hands-on and engaging learning experience. Its user-friendly interface, visual feedback, and compatibility with external components make it an ideal choice for educators seeking to introduce coding in a fun and interactive way. It features a LED display, buttons, and sensors, allowing students to create games, animations, and other interactive projects. By harnessing the power of Micro:bit, we can empower the next generation of young coders and prepare them for the future of technology.
One of the key reasons why Micro:bit is highly effective for teaching coding to kids is its intuitive block-based programming interface. You can read our blog post, if you want to read more on how to introduce block-based programming in your classroom.
Lego Mindstorms
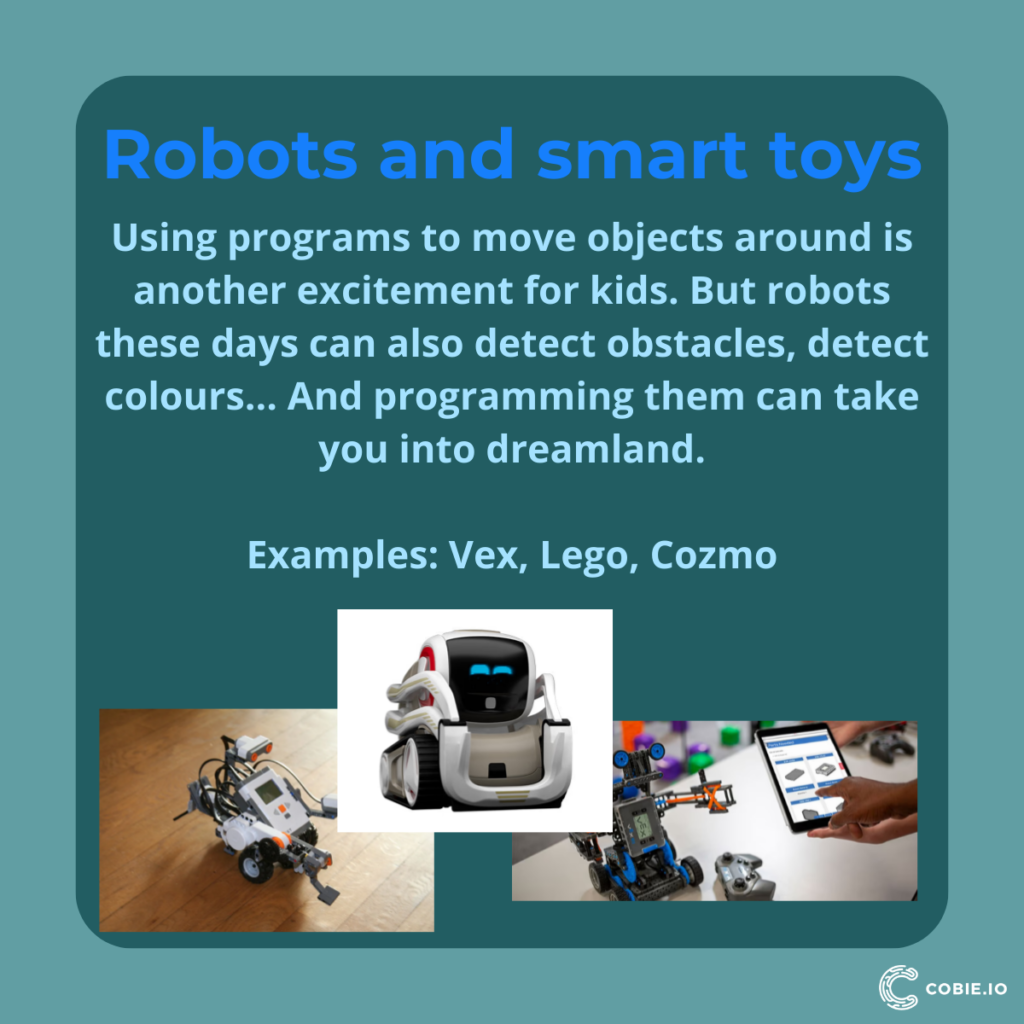
Lego Mindstorms combines the fun of building with Lego bricks and the excitement of coding. It includes a programmable brick, motors, and sensors that can be used to build and program robots. Lego Mindstorms offers a hands-on and creative approach to coding, allowing students to design and control their own robotic creations.
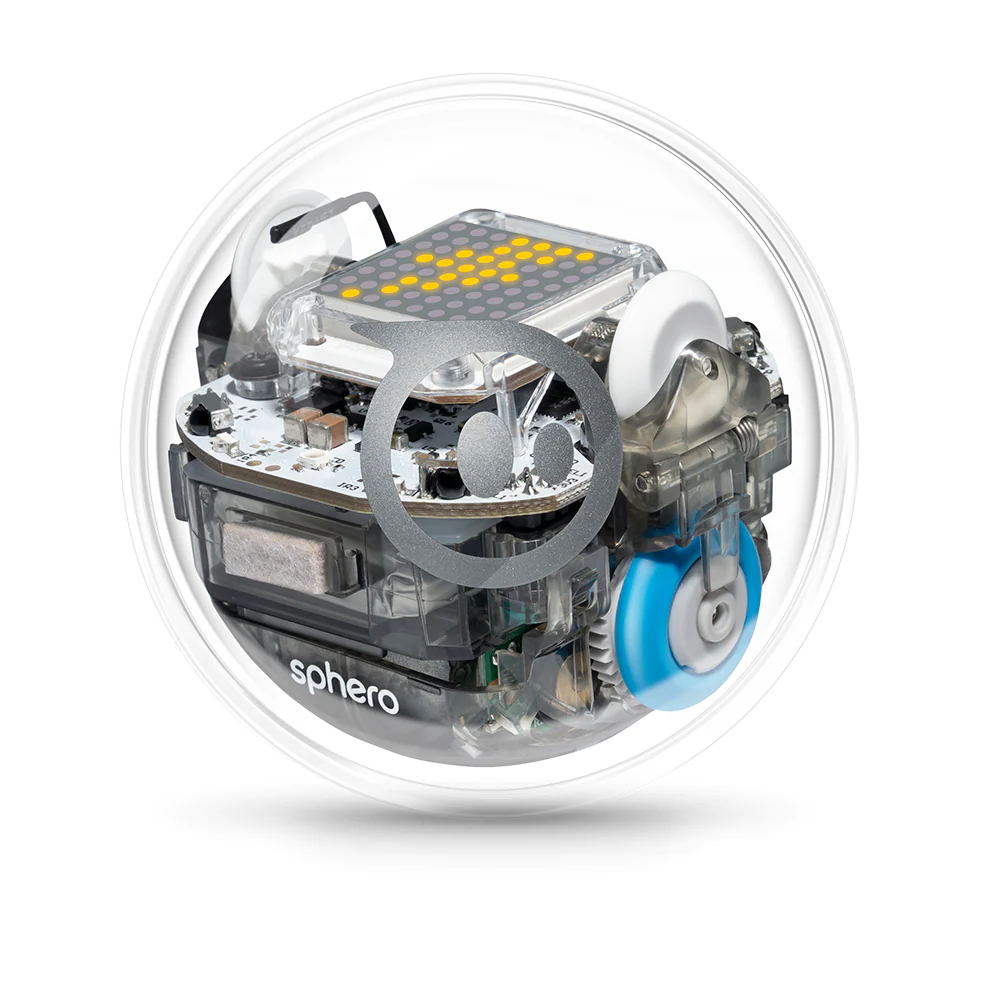
Sphero robots
Sphero robots are robotic balls that can be programmed using a mobile app. They provide a fun and interactive way for students to learn coding concepts through hands-on activities and challenges. Sphero robots can be guided through mazes, programmed to perform tricks, or even used in multiplayer games, promoting collaborative learning and problem-solving skills.
VEX Robotics
The VEX Robotics offers platforms for elementary through high school students. The VEX Robotics Construction System is a modular system that allows students to build and program robots using a variety of components, including motors, sensors, and controllers. The system is designed to be easy to use, even for students with no prior robotics experience.
The VEX platforms are popular in schools and for competitive robotics.

We have also written about Slovenian Open VEX IQ Competition which is a great competition for schools and kids learning about using robots to develop their algorithmic thinking, meat new friends and talk about technology.
Arduino boards
Arduino is a popular open-source platform that is widely used for interactive projects. It consists of a microcontroller board and a development environment that allows students to program and control various electronic components. Arduino boards are versatile and can be used to create projects such as robotic arms, weather stations, and even video games.
Raspberry Pi
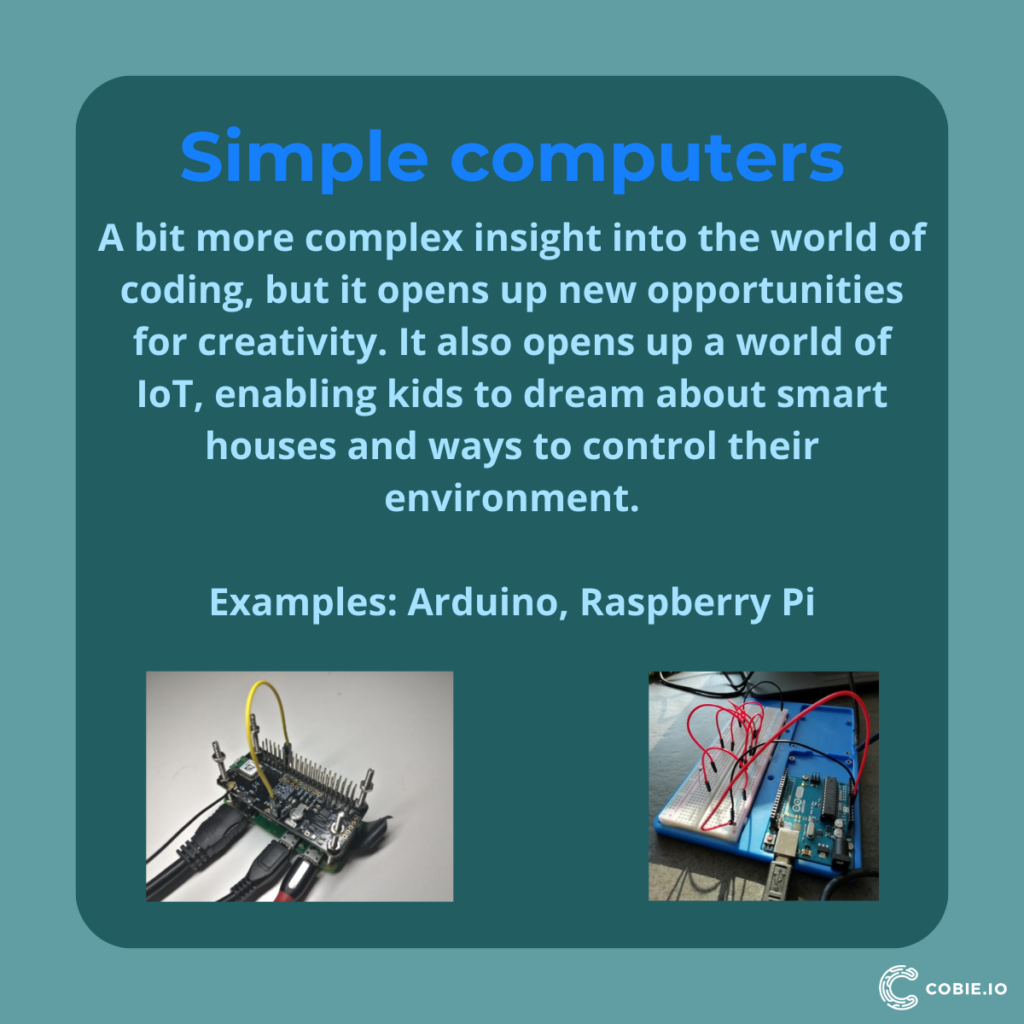
Raspberry Pi is a credit card-sized computer that enables students to explore programming and electronics. It can be connected to various peripherals and sensors, allowing students to create their own projects such as home automation systems or media centers. Raspberry Pi is an affordable and accessible option for teaching coding and can run popular programming languages like Python.
Virtual reality and augmented reality
Virtual reality and augmented reality technologies have revolutionized the way we learn and engage with various subjects, and coding education is no exception. By integrating virtual reality (VR) and augmented reality (AR) into coding lessons, educators can provide an immersive and interactive learning experience for kids.
One of the major advantages of using VR and AR in coding education is that it allows students to visualize complex coding concepts in a virtual space. By creating a three-dimensional environment, students can explore and manipulate objects, variables, and commands, making it easier for them to grasp coding principles.
3D printers, engravers, and other machines
3D printers, engravers, and other machines have revolutionized the way we approach coding education for kids. These tools provide hands-on experiences and allow children to bring their coding projects to life in a tangible and visually appealing way.
One of the most exciting aspects of using 3D printers in coding lessons is the ability to create physical objects from digital designs. Children can design their own models using CAD (Computer-Aided Design) software and then transform those designs into real objects with the help of a 3D printer. This process not only reinforces coding concepts but also encourages creativity and problem-solving skills.
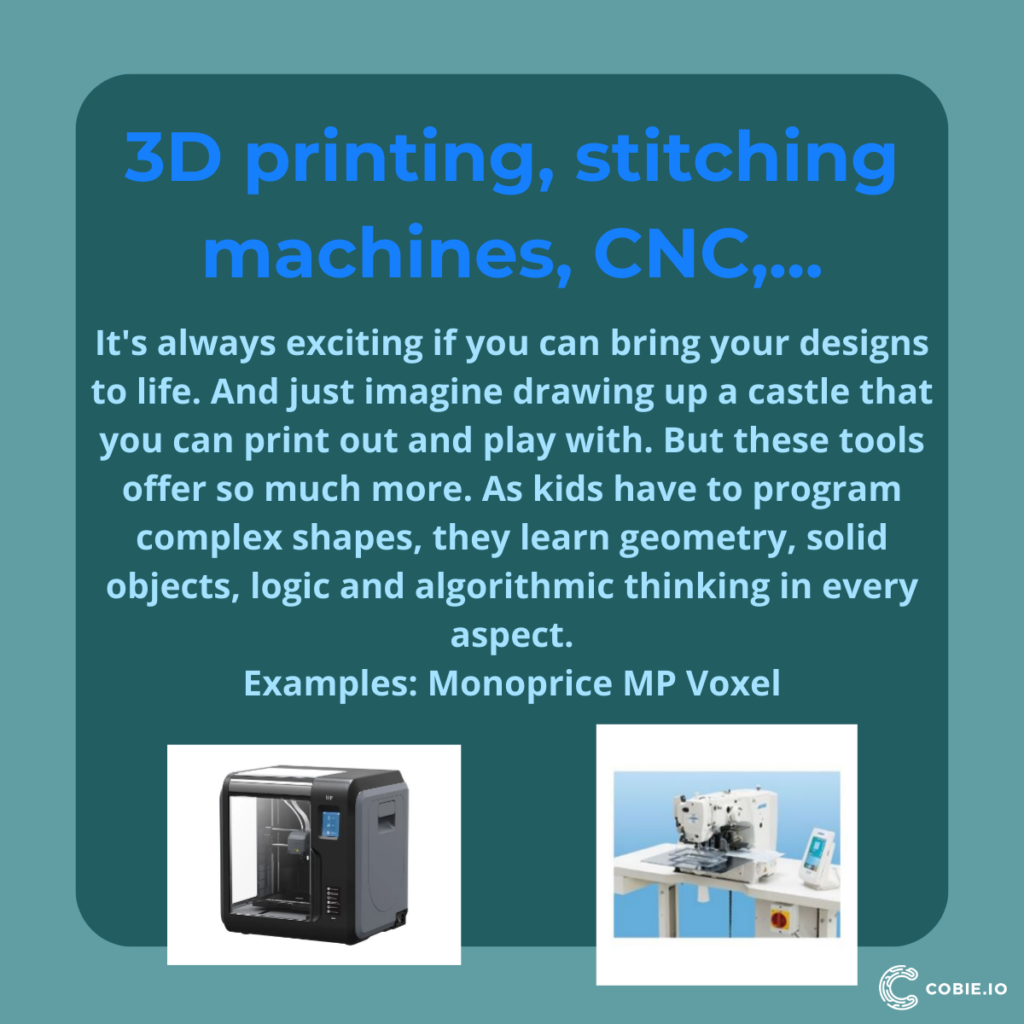
Engravers, on the other hand, enable students to explore coding through the medium of art. With the ability to etch designs onto various materials such as wood, metal, or even glass, engravers provide a unique way for children to merge coding and creativity. They can use their coding skills to program intricate patterns, designs, or even personalized messages onto different surfaces, giving them a sense of accomplishment and boosting their confidence in their coding abilities.
Other machines like CNC (Computer Numerical Control) mills or laser cutters also have valuable applications in teaching coding to kids. CNC mills automate the cutting and shaping of materials based on digital instructions, allowing students to create precise and intricate designs with ease. Laser cutters, on the other hand, use focused beams of light to cut or engrave various materials with incredible precision. Both of these machines provide endless possibilities for children to explore coding in practical and engaging ways.
Teachers can use our Cobie AI to introduce hardware into the classroom.
The hardware can connect to various code editors/development environments, from Scratch to VS Studio Code. Cobie AI has proven to be very effective for essential learning in both block and text-based programming; learn more about content we offer within our smart classroom. The skills learned through Cobie AI can be used both for software and hardware development environments. Our development team is currently working to enable Cobie AI to directly connect to different types of hardware.
Choosing the right hardware for teaching coding to kids
When it comes to teaching coding to kids, choosing the right hardware is essential. The right tools can make all the difference in engaging young learners and helping them grasp coding concepts in a fun and interactive way. Here are some factors to consider when selecting hardware for teaching coding to kids:
- Age appropriateness: Consider the age group you will be teaching and choose hardware that is suitable for their developmental stage. Younger children may benefit from more tactile and visual tools, while older kids can handle more complex hardware like microcontrollers.
- Ease of use: Look for hardware that is easy to set up and doesn’t require advanced technical knowledge to operate. The goal is to keep the focus on coding rather than struggling with complex hardware configurations.
- Compatibility with coding languages and software: Ensure that the hardware you choose is compatible with the coding languages and software you plan to use in your lessons. This will allow for a seamless integration between hardware and programming concepts.
- Versatility: Opt for hardware that offers versatility in terms of the range of coding concepts it can teach. Look for tools that allow for experimentation and exploration, enabling students to go beyond basic syntax and delve into more advanced coding principles.
- Scalability: Consider whether the hardware can grow with your students’ coding abilities. Choosing hardware that offers the option to expand or add-on components will allow for a continuation of learning as students progress.
- Durability: As kids can be quite hands-on, it’s important to select hardware that is durable and can withstand mishaps and accidents. Look for sturdy materials that can handle the wear and tear of a classroom environment.
- Affordability: Budget constraints are always a consideration in educational settings. Look for hardware options that offer good value for money without compromising on quality or functionality.
Tips and best practices for using hardware effectively in coding lessons
Using hardware can be a fun way to teach kids how to code and spark their interest in the subject. However, to ensure that this method is successful, it’s crucial to follow some tips and best practices to use the hardware effectively during coding lessons. It’s important to customize the activities and pace according to the age and skill level of the students while creating a supportive environment that fosters their curiosity and passion for coding. Here are a few recommendations to consider:
- Start with simple projects: When introducing hardware in coding lessons, begin with simple projects that allow kids to grasp the basic concepts. Starting with complex projects might overwhelm them and hinder their learning progress.
- Provide clear instructions: Make sure to provide step-by-step instructions that are easy to follow. Clearly explain the purpose of each hardware component and how it relates to coding concepts. This will help students understand the connections between hardware and software.
- Encourage experimentation: Encourage kids to experiment and explore different possibilities with the hardware. Let them think creatively and come up with their own ideas for using the hardware to achieve desired outcomes. This fosters independent thinking and problem-solving skills.
- Foster collaboration: Assign group projects that require collaboration and teamwork. This not only promotes social interaction but also enhances communication and cooperation skills. Working together, students can pool their expertise and jointly solve coding challenges.
- Integrate hardware with real-world applications: Incorporate real-world examples and applications into coding lessons. Show how the hardware being used can be applied in various industries or everyday scenarios. This helps students understand the relevance and practicality of coding with hardware.
- Provide hands-on experiences: Allow students to interact directly with the hardware. Give them hands-on experiences, such as assembling circuits or programming robots, to deepen their understanding of how the hardware components function together. This tactile approach facilitates better comprehension and retention.
- Encourage troubleshooting: Inevitably, students may encounter issues or errors when working with hardware. Encourage them to troubleshoot and find solutions independently or as a group. This teaches them resilience, problem-solving skills, and the ability to rely on their own abilities.
- Celebrate successes: Recognize and celebrate students’ achievements and progress throughout the coding lessons. Positive reinforcement boosts motivation and confidence, inspiring them to continue their coding journey with enthusiasm.
Using Hardware for Cross-Subject Interdisciplinary STEM Learning
The micro:bit, Arduino, and Raspberry Pi are versatile platforms that can be integrated into various STEM subjects to create interdisciplinary learning experiences. Even Bee-bot can be used for interdisciplinary learning experiences. The following examples showcase how integrating different hardware into STEM subjects can provide hands-on, practical experiences for students. By bridging computer science with other disciplines, students can see the real-world applications of their learning, making the subjects more engaging and relevant.
Mathematics & Programming with micro:bit
Project: Geometry Angle Detector
Description:
Students can use the micro:bit’s accelerometer to create a device that measures angles. When studying geometry, students can use this device to measure and verify angles in real-world objects, integrating mathematical concepts with programming and electronics.
Biology & Data Logging with Arduino
Project: Plant Growth Monitor
Description: Students can set up an Arduino with sensors to monitor environmental conditions like light, temperature, and soil moisture. Over time, they can track how changes in these conditions affect plant growth. This project combines biology (understanding plant growth) with electronics and data analysis.
Physics & Computing with Raspberry Pi
Project: Time-lapse Camera for Motion Study
Description:
Using a Raspberry Pi with a camera module, students can set up a time-lapse recording system. This can be used in physics experiments to study motion, such as the melting of ice, the movement of shadows, or the trajectory of objects. Students will learn about motion and time while also gaining experience in setting up and programming a Raspberry Pi.
Chemistry & Sensing with Arduino
Project: pH Level Detector
Description:
Students can use an Arduino combined with a pH sensor to measure the acidity or alkalinity of various solutions. This can be integrated into chemistry experiments where students mix acids and bases, allowing them to see real-time data and better understand the concept of pH.
Environmental Science & Data Collection with Raspberry Pi
Project: Weather Station
Description:
Students can set up a Raspberry Pi with various sensors (temperature, humidity, barometric pressure, etc.) to create a DIY weather station. This station can log data over extended periods, allowing students to study local weather patterns, understand meteorological concepts, and analyze data.
Geography & Programming with Bee-Bot
Project: Exploring World Landmarks
Description:
Engage students in a cross-disciplinary activity that melds geography with basic programming using Bee-Bot. Introduce a map mat featuring various global landmarks and initiate a discussion about their historical and geographical significance. Students learn to program Bee-Bot to navigate between these landmarks, enhancing their spatial and computational thinking. Challenges, such as navigating through obstacles or finding the shortest path, deepen problem-solving skills. Post-activity discussions focus on route strategies and overcoming navigational challenges, offering a holistic learning experience that intertwines geographical knowledge with coding skills.
Conclusion
Hardware is great for showing students how computers work while teaching them how to code.
If you have any suggestions for the content of the slides, please let me know.
We, at Cobie AI, are very passionate about teaching coding and algorithmic thinking to future generations, and if you want to find out more read some of our blogs or contact us for demo of our smart classroom.